
DIY Paver Installation vs. Hiring a Pro: The Honest Truth for Charleston Homeowners
- taven34
- Feb 28
- 2 min read
We get it. You've watched the YouTube videos. You've browsed the Lowe's paver aisle. You're handy, you have a free weekend, and you're wondering: how hard can it really be? Installing pavers looks straightforward on the surface — lay a base, set the stones, done.
The truth is more complicated. And as a professional hardscape company that spends a significant portion of its time fixing failed DIY installations across Charleston, Mount Pleasant, Daniel Island, and beyond, we feel obligated to give you the full picture.
What YouTube Doesn't Show You
The videos make it look easy because they skip the hard parts. Here's what actually goes into a professional paver installation that rarely makes it into the tutorial:
Proper excavation depth — In the Lowcountry, soil composition varies dramatically. Clay-heavy soil requires deeper excavation and more aggressive base preparation than sandy soil. Get this wrong and your pavers will sink or heave within a season.
Base compaction — A professional crew uses a plate compactor to achieve the correct compaction density at every layer. Doing this by hand or skipping layers is the single most common cause of DIY paver failure.
Grading and drainage — Pavers need to slope away from structures at a precise grade to prevent water pooling and foundation issues. This requires laser levels and experience to execute correctly.
Edge restraints — Without properly installed edge restraints, pavers migrate outward over time. This is subtle at first, then suddenly your whole patio is shifting.
Polymeric sand — Correctly applying and activating polymeric joint sand requires specific conditions and technique. Done wrong, it either washes out immediately or hazes the surface permanently.
The Real Cost Comparison
DIY sounds cheaper until you factor in tool rental (plate compactor, laser level, wet saw), material waste from cutting errors, delivery costs, and — most critically — the cost of doing it over when something goes wrong. We've re-installed DIY patios that were attempted by capable, intelligent homeowners who simply didn't know what they didn't know. The redo always costs more than hiring a pro would have in the first place.
What You Actually Get With a Pro
When you hire No Pressure Contracting, you're not just paying for labor. You're getting a team that has installed hundreds of projects across the Lowcountry and knows exactly how Charleston's soil, climate, and drainage patterns affect the work. You're getting a 3D design before we build so there are no surprises. You're getting a finished product backed by our reputation and 80+ five-star reviews between google, nextdoor, and facebook
When DIY Actually Makes Sense
To be fair: small, simple projects with minimal drainage concerns — like a basic garden path with stepping stones set in gravel — can absolutely be a reasonable DIY undertaking. But anything involving a full patio, driveway, seating wall, or space that will see regular foot traffic and weather exposure? That's where professional installation pays for itself many times over.
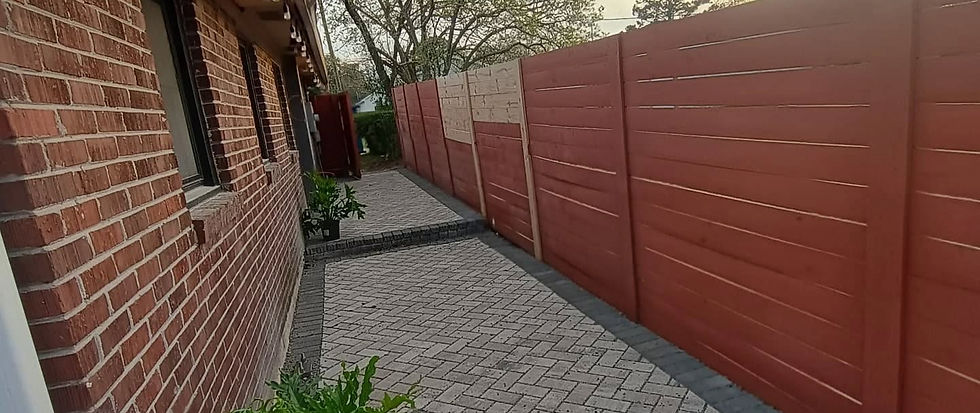
See the Difference in the Work
Browse our project gallery and follow @nopressurecontractingsc on Instagram to see what properly installed hardscape looks like up close. When you're ready to talk, get your free estimate here — no pressure, just an honest conversation about your project.


Comments